第三方支持
更多的第三方支持不断加入中。
评论系统
WARNING
你只能为你的博客选择一个评论系统。否则 theme-melody 将会在你开启的两个或者更多的评论系统里选择其中一个。
Disqus
注册disqus,配置你自己的 disqus,然后在theme-melody里开启它。
配置melody.yml
disqus:
  enable: true # or false
  shortname: 你的disqus的 short-name
  count: true # or false. 开启将展示出你的文章的评论数
截图

Laibili(来必力) v1.4.0+
注册来必力,配置你自己的来必力设置,然后在theme-melody里开启它。
配置melody.yml
laibili:
  enable: true # or false
  uid: 你的laibili的uid
laibili 的 uid 你能在这里找到:

截图

Gitment v1.4.0+
遵循gitment的指示去获取你的 github Oauth 应用的 client id 和 secret 值。
然后配置melody.yml:
gitment:
  enable: true # or false
  owner: 你的github用户名
  repo: 你的github仓库
  client_id: 你的client id
  client_secret: 你的client secret
举例:
gitment:
  enable: true
  owner: Molunerfinn
  repo: Molunerfinn.github.io
  client_id: xxxx
  client_secret: yyyy
截图

Gitalk v1.4.3+
遵循gitalk的指示去获取你的 github Oauth 应用的 client id 和 secret 值。以及查看它的相关配置说明。
然后配置melody.yml:
gitalk:
  enable: true
  client_id: 你的client id
  client_secret: 你的client secret
  repo: 你的github仓库
  owner: 你的github用户名
  admin: 该仓库的拥有者或协作者
截图

Valine v1.4.3+
遵循Valine的指示去配置你的 LeanCloud 应用。以及查看相应的配置说明。
然后配置melody.yml:
valine:
  enable: false # if you want use valine,please set this value is ture
  appId: # leancloud application app id
  appKey: # leancloud application app key
  notify: false # valine mail notify (true/false) https://github.com/xCss/Valine/wiki
  verify: false # valine verify code (true/false)
  pageSize: 10 # comment list page size
  avatar: mm # gravatar style https://valine.js.org/#/avatar
  lang: zh-cn # i18n: zh-cn/en
  placeholder: Just go go # valine comment input placeholder(like: Please leave your footprints )
  guest_info: nick,mail,link #valine comment header in
截图

分享系统
WARNING
你只能为你的博客选择一个分享系统。否则 theme-melody 将会在你开启的两个或者更多的分享系统里选择其中一个。
AddThis
找到你的 pub-id

配置melody.yml
addThis:
  enable: true # or false
  pubid: 你的pub-id
截图

Sharejs
如果你不知道sharejs,看看它的说明。
配置melody.yml
sharejs:
  enable: true
  disabled_sites: 你不想分享的站点
举例:
sharejs:
  enable: true
  disabled_sites: google,facebook
截图

搜索系统
Algolia
你需要安装 hexo-algolia 或 hexo-algoliasearch. 根据它们的说明文档去做相应的配置。
配置
melody.yml
algolia_search:
  enable: true # or false
  hits:
    per_page: 10 # the number of search results per page
  labels:
    input_placeholder: Search for Posts
    hits_empty: "We didn't find any results for the search: ${query}" # if there are no result
    hits_stats: "${hits} results found in ${time} ms"
截图
点击搜索按钮

搜索结果

本地搜索 v1.3.0+
你需要安装 hexo-generator-search. 根据它的文档去做相应配置。注意格式只支持 xml。
Set the
melody.yml
local_search:
  enable: true # or false
  labels:
    input_placeholder: Search for Posts
    hits_empty: "We didn't find any results for the search: ${query}" # if there are no result
截图

分析统计
百度统计
登录百度统计的官方网站
找到你百度统计的统计代码

3. 配置melody.yml
baidu_analytics: 你的代码
谷歌分析
登录谷歌分析的官方网站
找到你的谷歌分析的跟踪 ID

3. 配置melody.yml
google_analytics: 你的代码 # 通常以`UA-`打头
腾讯分析 v1.6.0+
登录腾讯分析的网站
找到你腾讯分析的代码:
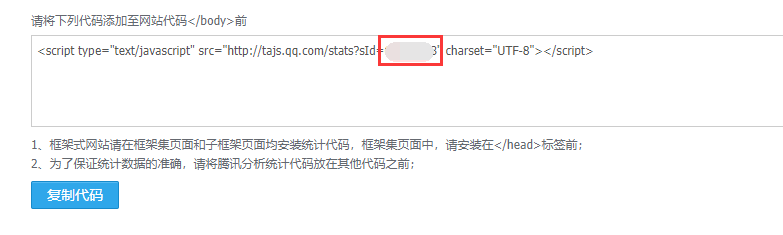
3. 配置melody.yml:
tencent_analytics: 你的代码
广告
谷歌广告 v1.6.0+
登录谷歌广告的网站
添加广告并找到你的 client-id, 通常是以
ca-pub-开头
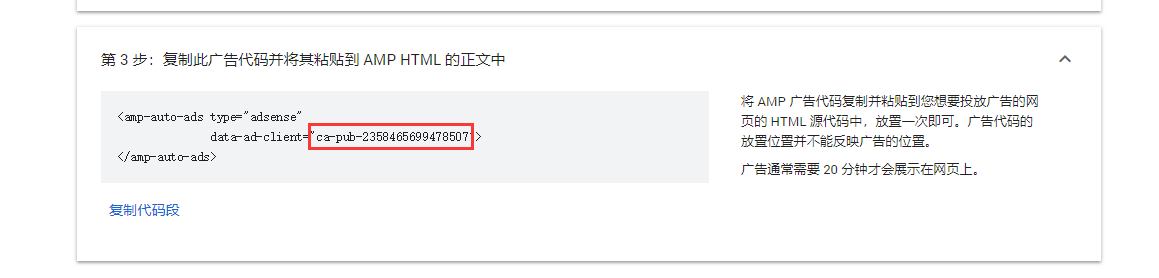
3. 配置 melody.yml
google_adsense:
  enable: true
  js: //pagead2.googlesyndication.com/pagead/js/adsbygoogle.js
  client: ca-pub-...........
  enable_page_level_ads: true
截图

访问日志(UV 和 PV)
busuanzi
访问 busuanzi 的官方网站查看更多的介绍。
配置melody.yml
# busuanzi count for PV / UV in site
busuanzi:
  enable: true
  # 全站uv
  site_uv: true
  site_uv_header: <i class="fa fa-user"></i>
  site_uv_footer:
  # 全站pv
  site_pv: true
  site_pv_header: <i class="fa fa-eye"></i>
  site_pv_footer:
  # 单独页面pv
  page_pv: true
  page_pv_header: <i class="fa fa-file-o"></i>
  page_pv_footer:
截图

数学公式
MathJax
TIP
建议使用 KaTex 获得更好的效果,下文有介绍!
配置melody.yml:
mathjax:
  enable: true # or false
  cdn: https://cdn.bootcss.com/mathjax/2.7.2/MathJax.js?config=TeX-AMS-MML_HTMLorMML # required
然后你需要修改一下默认的markdown渲染引擎来实现 MathJax 的效果。
以下操作在你 hexo 博客的目录下(不是 theme-melody 的目录!):

截图

KaTeX v1.6.0+
首先禁用MathJax(如果你配置过 MathJax 的话),然后修改你的melody.yml以便加载katex.min.css:
katex:
  enable: true
  cdn:
    css: https://cdn.jsdelivr.net/npm/katex@latest/dist/katex.min.css
你不需要添加katex.min.js来渲染数学方程。相应的你需要卸载你之前的 hexo 的 markdown 渲染器以及hexo-math,然后安装新的hexo-renderer-markdown-it-plus:
# 替换 `hexo-renderer-kramed` 或者 `hexo-renderer-marked` 等hexo的markdown渲染器
# 你可以在你的package.json里找到hexo的markdwon渲染器,并将其卸载
npm un hexo-renderer-marked --save

# or

npm un hexo-renderer-kramed --save

# 卸载 `hexo-math`
npm un hexo-math --save

# 然后安装 `hexo-renderer-markdown-it-plus`
npm i @upupming/hexo-renderer-markdown-it-plus --save
注意到 hexo-renderer-markdown-it-plus 已经无人持续维护, 所以我们使用 @upupming/hexo-renderer-markdown-it-plus。 这份 fork 的代码使用了 @neilsustc/markdown-it-katex 同时它也是 VSCode 的插件Markdown All in One所使用的, 所以我们可以获得最新的 KaTex 功能例如 \tag{}。
你还可以通过 @neilsustc/markdown-it-katex 控制 KaTeX 的设置,所有可配置的选项参见 https://katex.org/docs/options.html。 比如你想要禁用掉 KaTeX 在命令行上输出的冗长的警告信息,你可以在根目录的 _config.yml 中使用下面的配置将 strict 设置为 false:
markdown_it_plus:
  plugins:
    - plugin:
      name: "@neilsustc/markdown-it-katex"
      enable: true
      options:
        strict: false
当然,你还可以利用这个特性来定义一些自己常用的 macros。
因为 KaTeX 更快更轻量,因此没有 MathJax 的功能多(比如右键菜单)。为那些使用 MathJax 的用户,我们也为 KaTeX 默认添加了 Copy As TeX Code 的功能。
截图
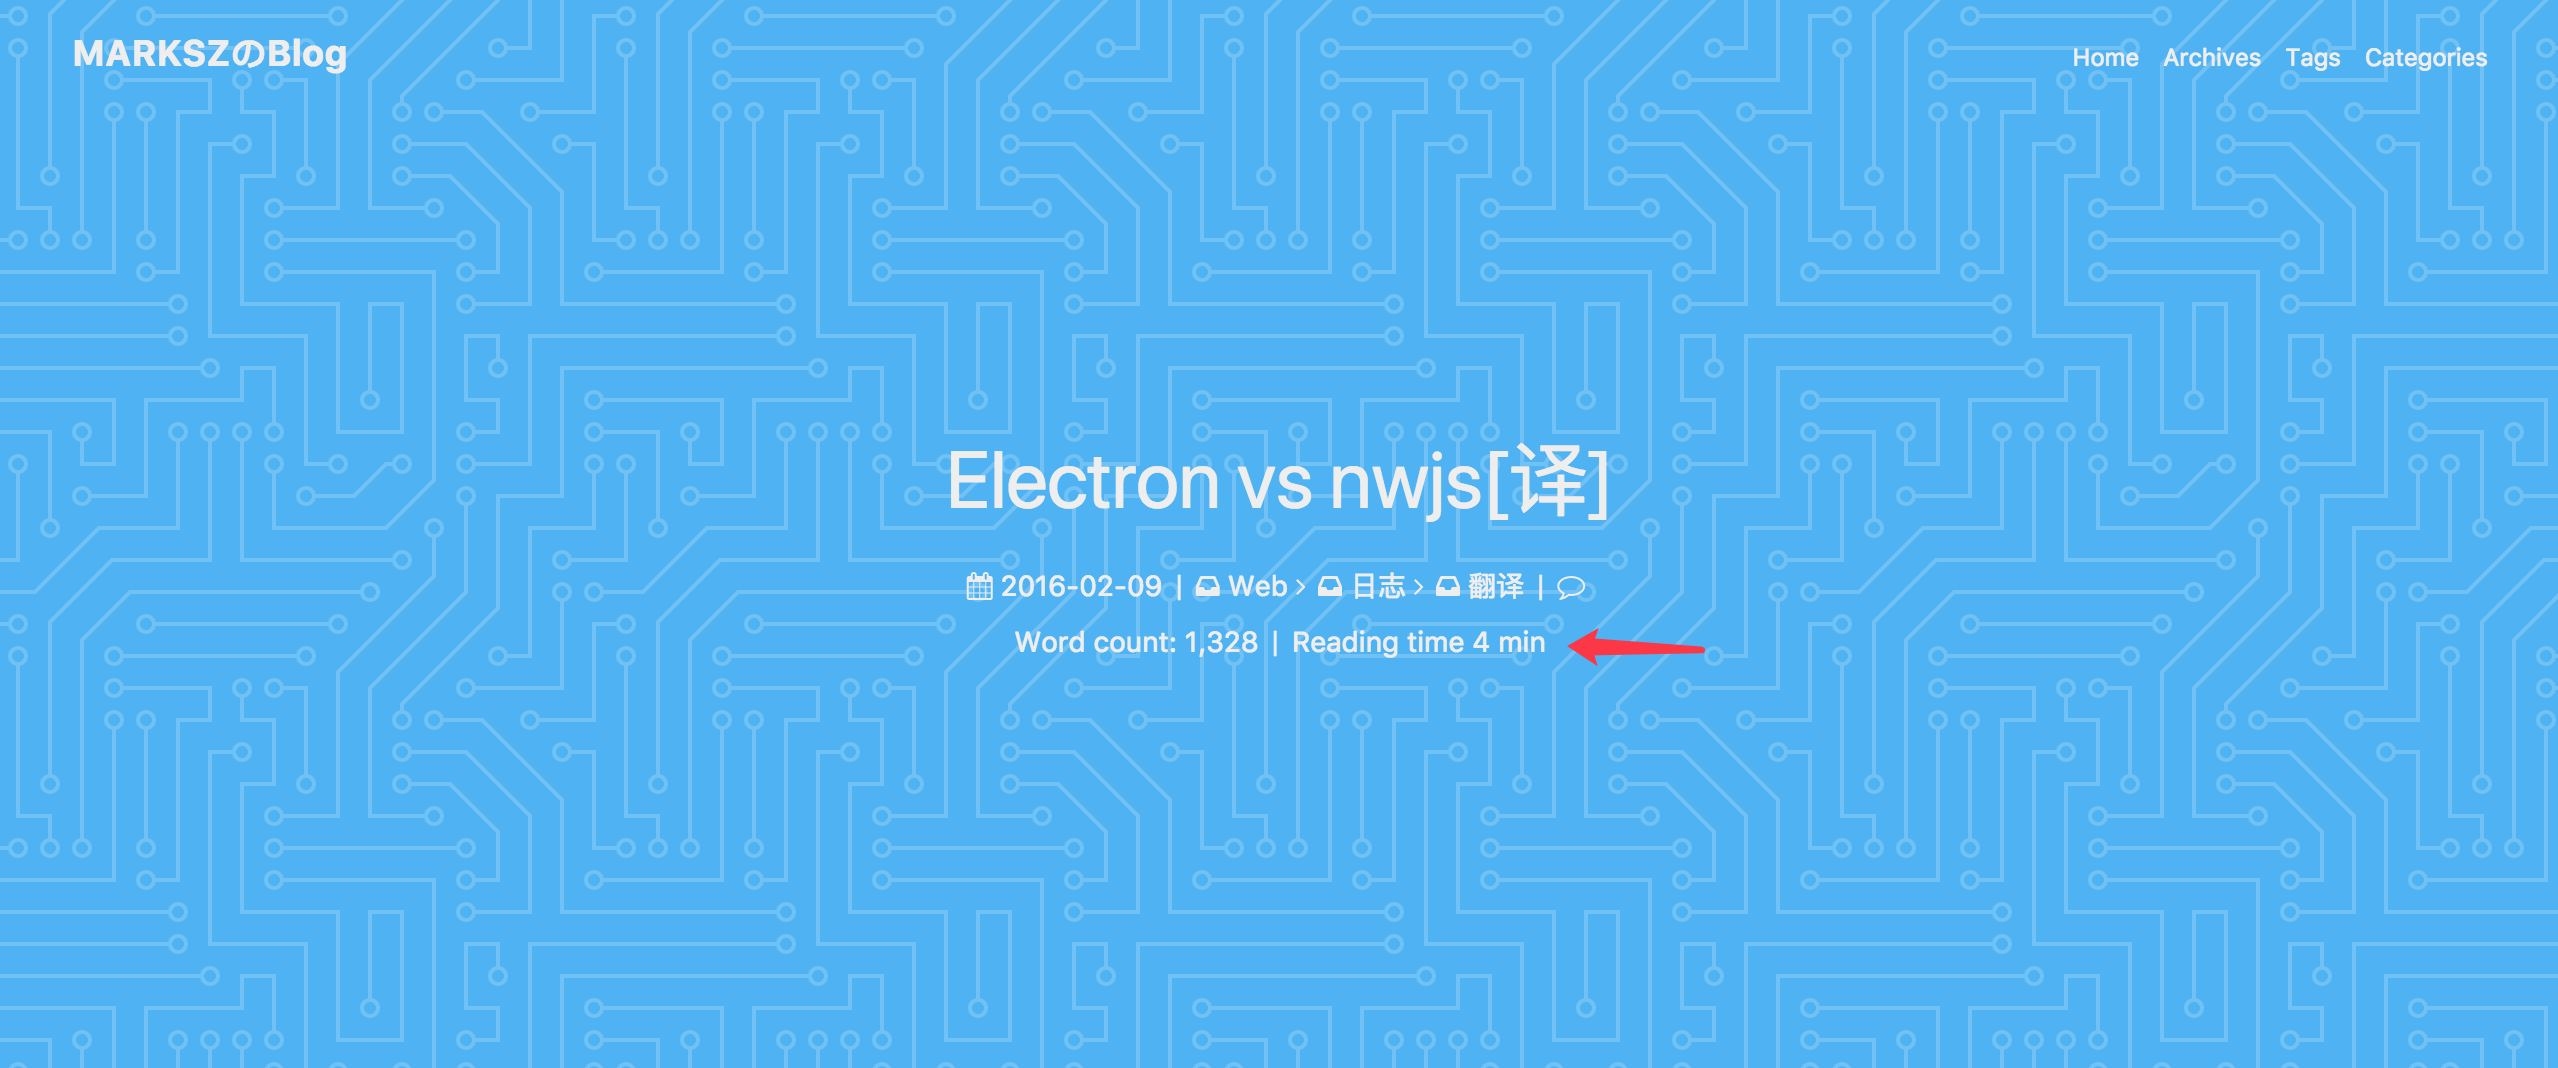
字数统计 v1.3.0+
要为theme-melody配上字数统计特性, 你需要如下几个步骤:
- 打开 hexo 工作目录
npm install hexo-wordcount --saveoryarn add hexo-wordcount- 配置
melody.yml:
wordcount:
  enable: true
截图
文章置顶 v1.6.0+
要为你一些文章置顶,你需要如下步骤:
- 打开 hexo 工作目录
npm uninstall hexo-generator-index --save然后npm install hexo-generator-index-pin-top --save- 你要在文章的
front-matter区域里添加top: True属性来把这篇文章置顶。 - 你可以参考hexo-generator-index-pin-top这个仓库来了解更多细节。
举个例子:
你的某篇文章开头如下:
title: xxxx
tags:
  - xxx
date: 2018-08-08 08:08:08
---
// ....
现在把top: True加进去:
title: xxxx
tags:
  - xxx
date: 2018-08-08 08:08:08
top: True
---
// ....
截图
