额外依赖库支持
更多的额外依赖库支持不断加入中。
PWA v1.2.0+
要为theme-melody配上PWA特性, 你需要如下几个步骤:
- 打开hexo工作目录
npm install hexo-offline --save或者yarn add hexo-offline- 修改
_config.yml在站点_config.yml中增加以下内容。
# offline config passed to sw-precache.
offline:
  maximumFileSizeToCacheInBytes: 10485760 # 缓存的最大文件大小,以字节为单位
  staticFileGlobs:
    - public/**/*.{js,html,css,png,jpg,gif,svg,webp,eot,ttf,woff,woff2}
  # 静态文件合集,如果你的站点使用了例如webp格式的文件,请将文件类型添加进去。
  stripPrefix: public
  verbose: true
  runtimeCaching:
    # CDNs - should be cacheFirst, since they should be used specific versions so should not change
    - urlPattern: /* # 如果你需要加载CDN资源,请配置该选项,如果没有,可以不配置。
      handler: cacheFirst
      options:
        origin: your_websie_url # 可替换成你的 url
更多内容请查看hexo-offline的官方文档
- 在
melody.yml中开启pwa选项。
pwa:
  enable: true
  manifest: # manifest.json的url, 通常可以设置成 /manifest.json
  # 从v1.5.6开始你可以修改PWA的主题色和icon了。
  # 如果不明白这些有什么用,或者不想配置可以忽视下面的配置
  # See https://realfavicongenerator.net/
  # theme_color: "#1B9EF3"
  # apple_touch_icon: /apple-touch-icon.png
  # favicon_32_32: /favicon-32x32.png
  # favicon_16_16: /favicon-16x16.png
  # mask_icon: /safari-pinned-tab.svg
- 在创建
source/目录中创建manifest.json文件。
{
    "name": "string", //应用全称
    "short_name": "Junzhou", //应用简称
    "theme_color": "#49b1f5", //匹配浏览器的地址栏颜色
    "background_color": "#49b1f5",//加载应用时的背景色
    "display": "standalone",//首选显示模式 其他选项有:fullscreen,minimal-ui,browser
    "scope": "/",
    "start_url": "/",
    "icons": [ //该数组指定icons图标参数,用来时适配不同设备(需为png,至少包含一个192px*192px的图标)
        {
          "src": "images/pwaicons/36.png", //图标文件的目录,需在source/目录下自行创建。
          "sizes": "36x36",
          "type": "image/png"
        },
        {
            "src": "images/pwaicons/48.png",
          "sizes": "48x48",
          "type": "image/png"
        },
        {
          "src": "images/pwaicons/72.png",
          "sizes": "72x72",
          "type": "image/png"
        },
        {
          "src": "images/pwaicons/96.png",
          "sizes": "96x96",
          "type": "image/png"
        },
        {
          "src": "images/pwaicons/144.png",
          "sizes": "144x144",
          "type": "image/png"
        },
        {
          "src": "images/pwaicons/192.png",
          "sizes": "192x192",
          "type": "image/png"
        },
        {
            "src": "images/pwaicons/512.png",
            "sizes": "512x512",
            "type": "image/png"
          }
      ],
      "splash_pages": null //配置自定义启动动画。
  }
你也可以通过Web App Manifest快速创建manifest.json。(Web App Manifest要求至少包含一个512*512像素的图标)
- 可以通过
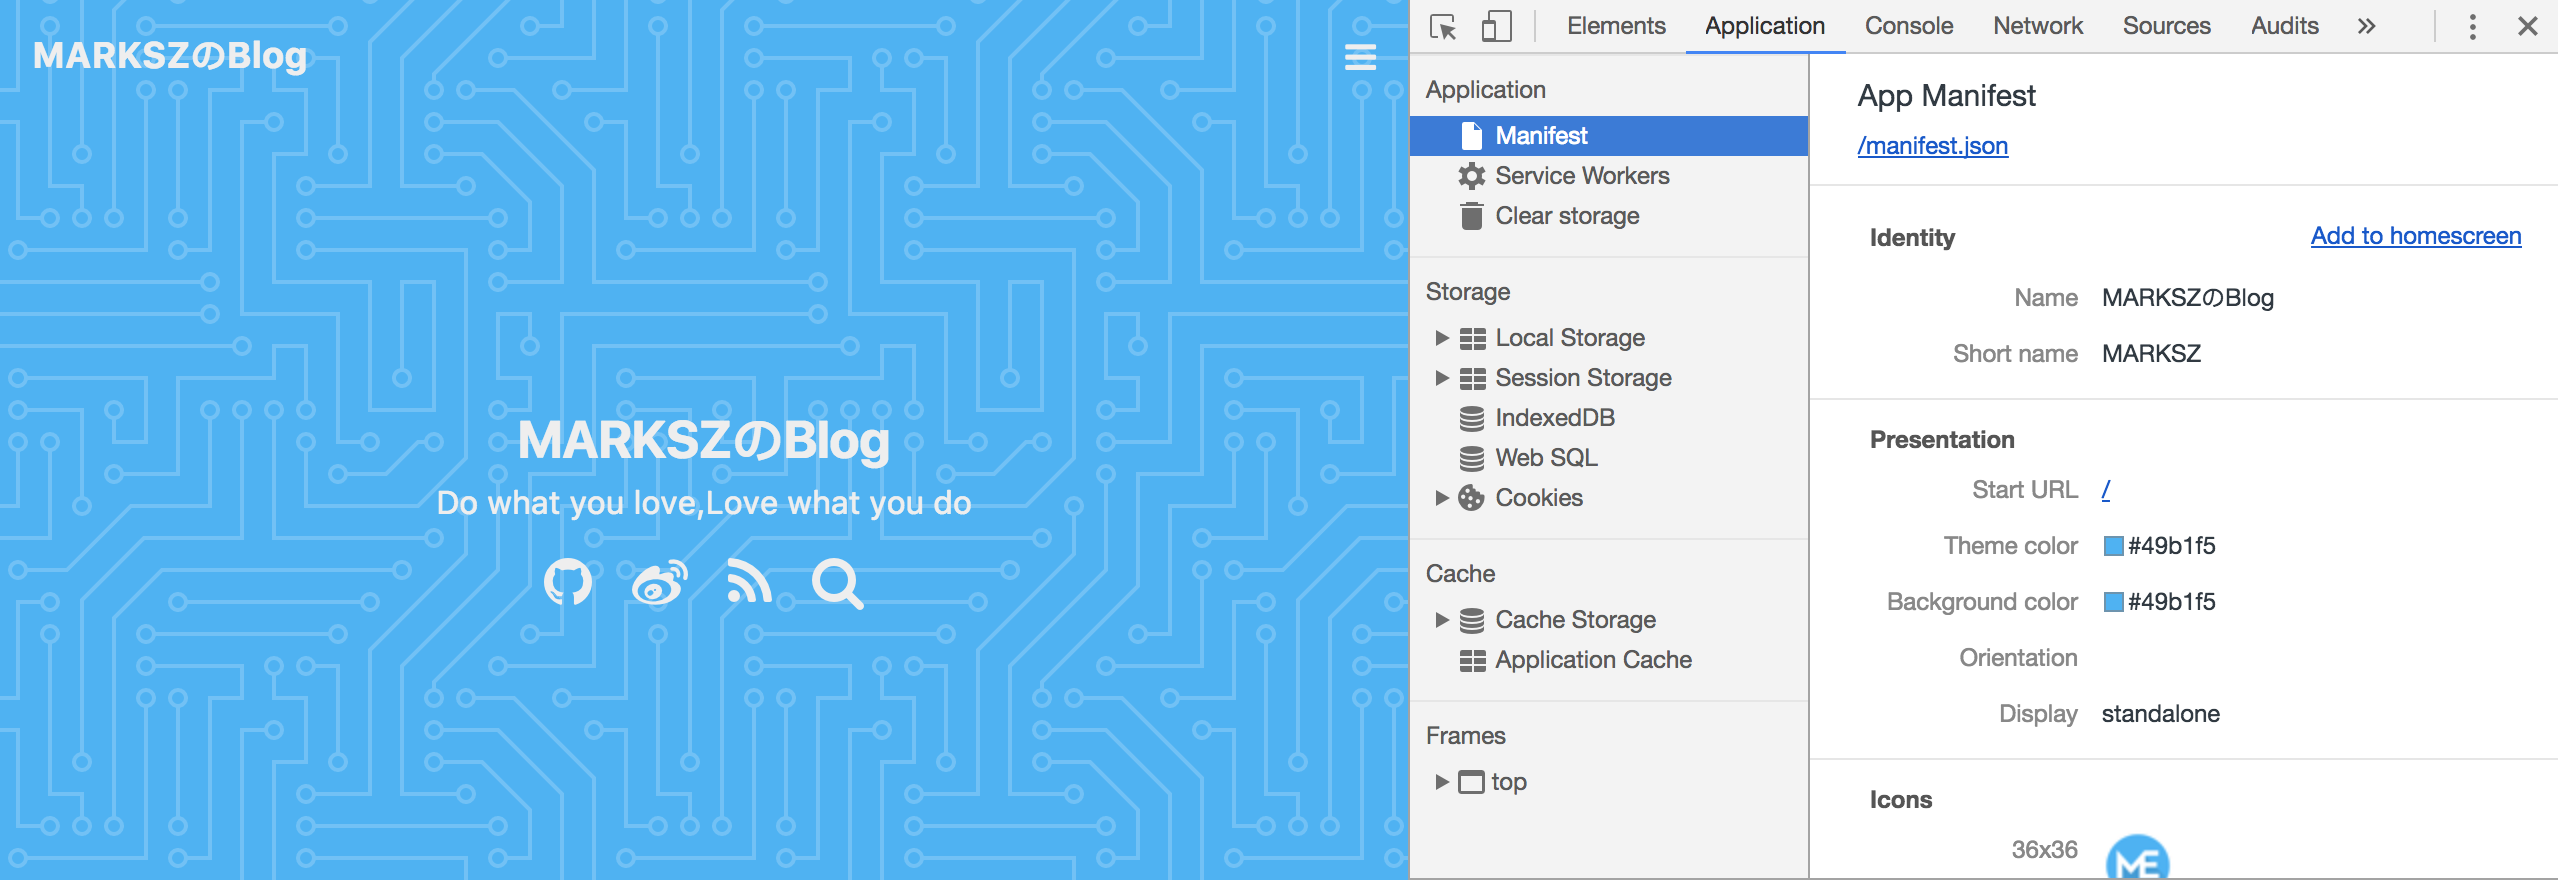
Chrome插件Lighthouse检查PWA配置是否生效以及配置是否正确。- 打开博客页面
- 启动
Lighthouse插件(Lighthouse插件要求至少包含一个512*512像素的图标)
关于PWA(渐进式增强Web应用)的更多内容请参阅Google Tools for Web Developers
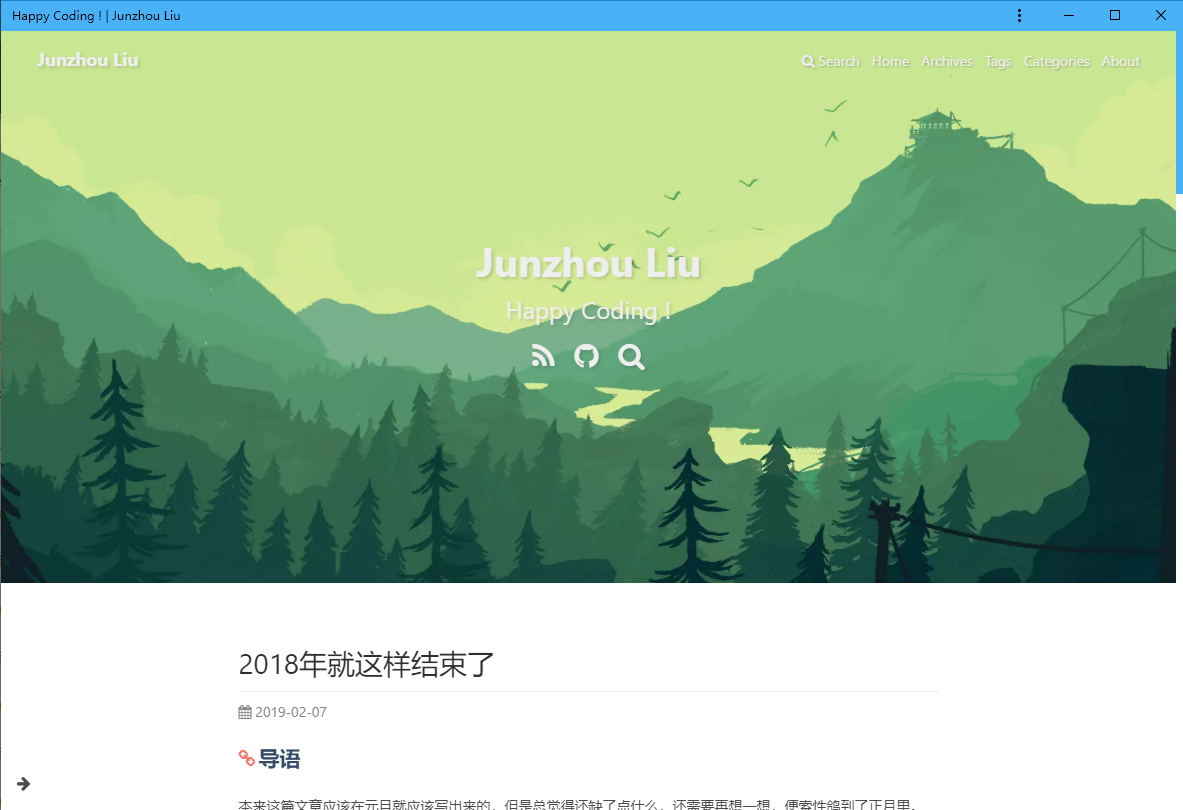
截图

Live2D动画模型挂件
安装
Live2D模块
使用如下指令安装Live2D模块、需要在博客的根目录通过终端执行:
npm install --save hexo-helper-live2d
如果不想使用、想彻底卸载,命令如下:
npm uninstall hexo-helper-live2d
配置喜欢的动画模型
有非常多的Live2D动画模型供我们选择:
1.对应的模块下载在这里
如我使用的是tororo(萌萌哒白猫),可以直接在上面的下载界面:
1.手动下载完成之后将packages里面的所有文件拷贝到博客根目录的node_moduels文件夹下。
2.也可以使用包管理器安装,命令格式:npm install 模型的包名,也会安装在node_moduels目录下。
3.打开博客根目录的配置文件_config.yml,添加如下内容:
# Live2D
live2d:
  enable: true
# enable: false
  scriptFrom: local # 默认
  pluginRootPath: live2dw/ # 插件在站点上的根目录
  pluginJsPath: lib/ # 脚本文件相对与插件根目录路径
  pluginModelPath: assets/ # 模型文件相对与插件根目录路径
  model:
    use: live2d-widget-model-tororo # 下载的动画模型名称
  display:
    superSample: 2
    width: 210
    height: 420
    position: left # 模型显示在网页上的位置
    hOffset: 0
    vOffset: -20
快去领取属于你萌萌哒白猫吧!
截图

← 第三方支持