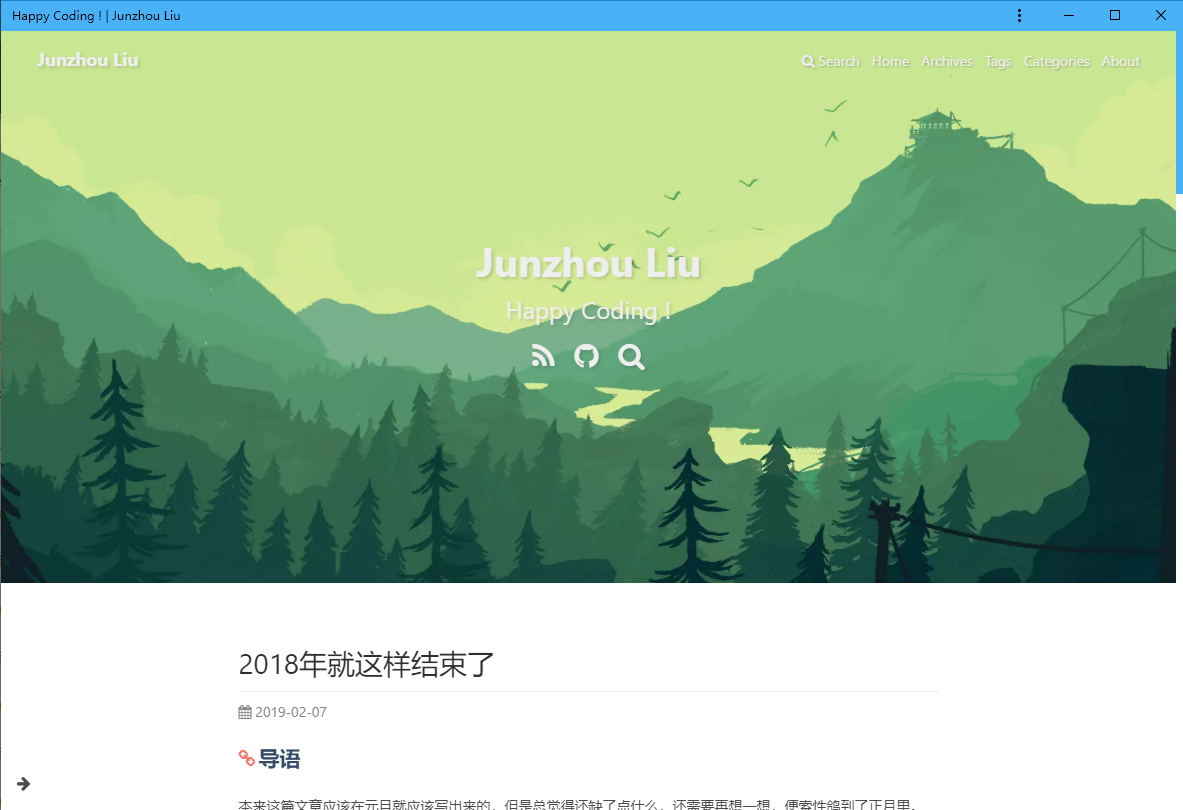
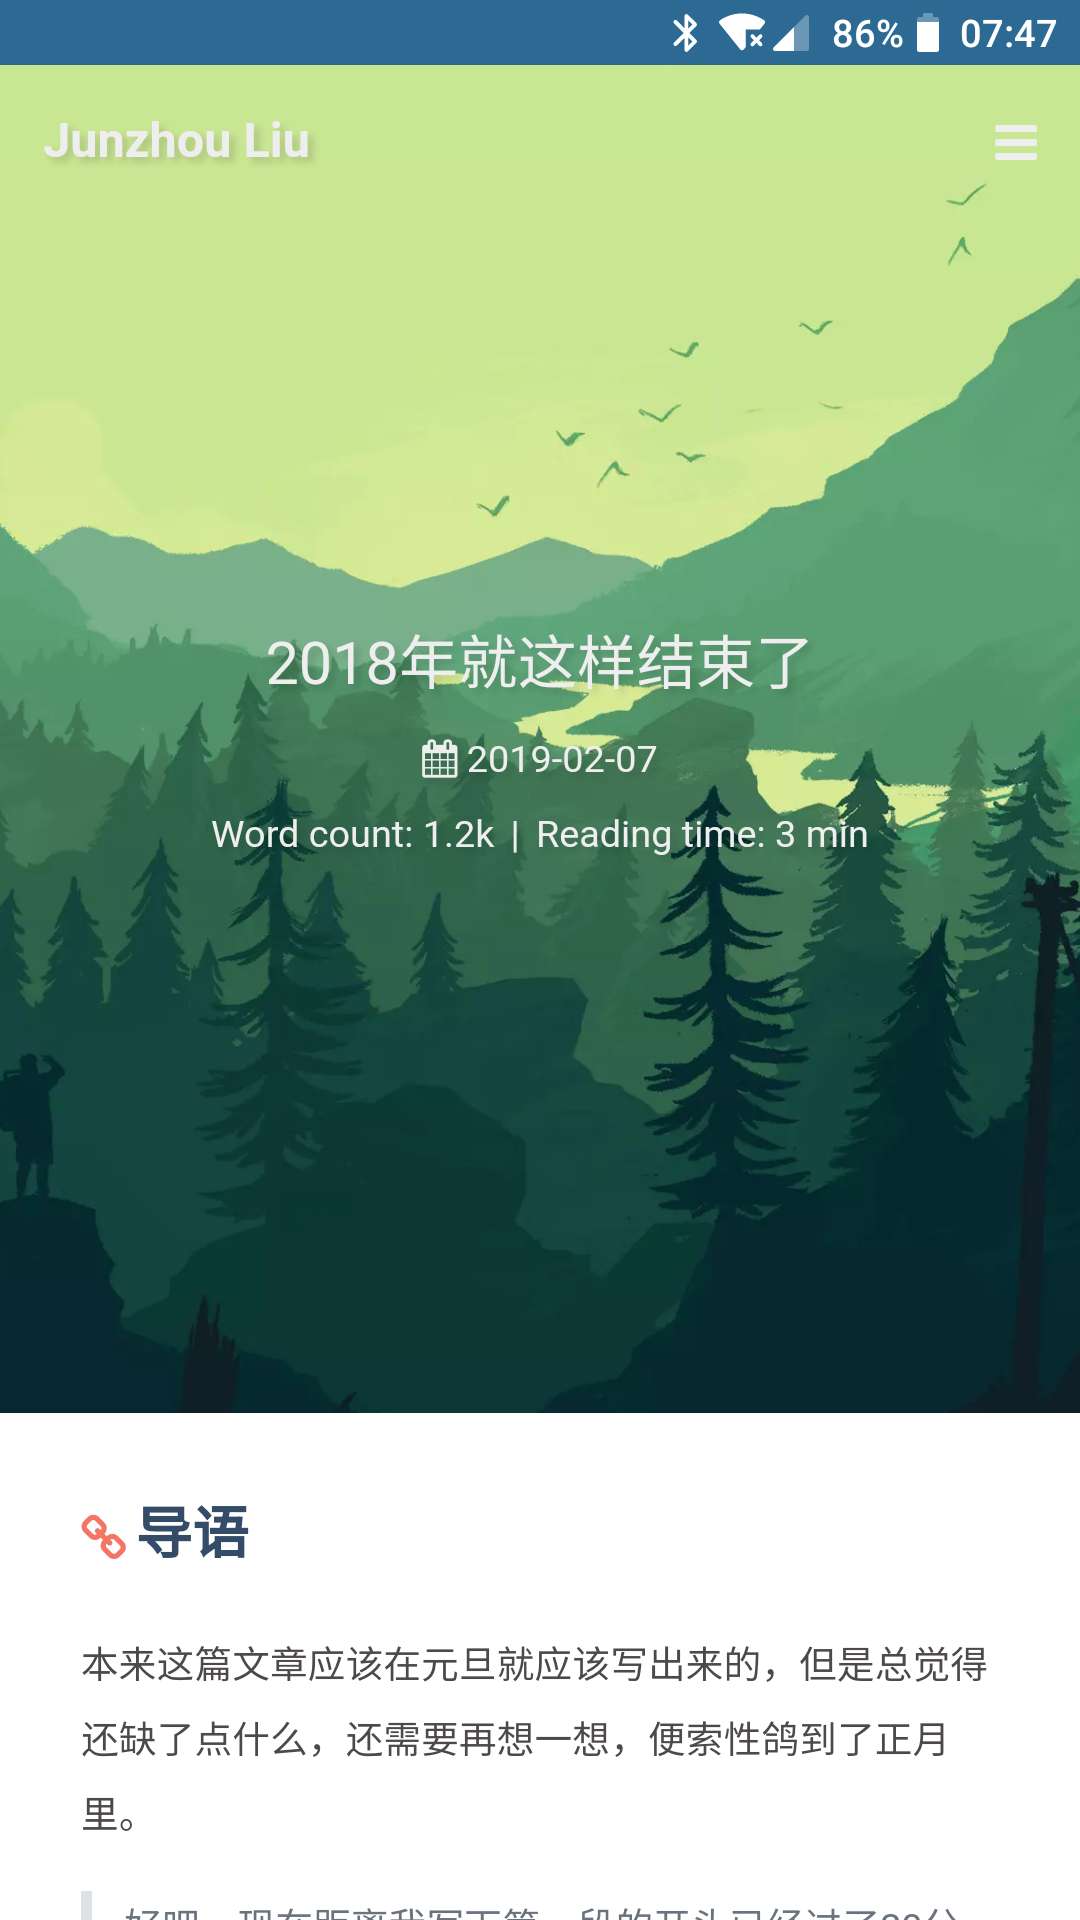
Additional-package-support
More additional-packages are coming soon.
PWA v1.2.0
To have the PWA feature for theme-melody, you need to do the following things:
- Go to the hexo site folder
npm install hexo-offline --saveoryarn add hexo-offline- Modify
_config.ymlAdd the following to the site_config.yml.
# offline config passed to sw-precache.
offline:
  maximumFileSizeToCacheInBytes: 10485760 # The maximum file size cached, in bytes
  staticFileGlobs:
    - public/**/*.{js,html,css,png,jpg,gif,svg,webp,eot,ttf,woff,woff2}
  # Static file collection, if your site uses files such as webp format, please add the file type.
  stripPrefix: public
  verbose: true
  runtimeCaching:
    # CDNs - should be cacheFirst, since they should be used specific versions so should not change
    - urlPattern: /* # If you need to load CDN resources, please configure this option. If not, you can configure it.
      handler: cacheFirst
      options:
        origin: your_website_url # can be replaced with your url
For more details, please see the official documentation for hexo-offline
- Turn on the pwa option in
melody.yml.
pwa:
  enable: true
  manifest: # the url for the manifest.json, usually you can set to /manifest.json
  # Since v1.5.6 you can modify the theme_color & icon for your PWA app.
  # If you don't want to trouble, just ignore the following things
  # See https://realfavicongenerator.net/
  # theme_color: "#1B9EF3"
  # apple_touch_icon: /apple-touch-icon.png
  # favicon_32_32: /favicon-32x32.png
  # favicon_16_16: /favicon-16x16.png
  # mask_icon: /safari-pinned-tab.svg
- Create a
manifest.jsonfile in thesource/directory.
{
    "name": "string", //Application full name
    "short_name": "Junzhou", //Application short name
    "theme_color": "#49b1f5", //Match the browser's address bar color
    "background_color": "#49b1f5",//Background color when loading the app
    "display": "standalone",//Preferred display mode Other options are: fullscreen, minimal-ui, browser
    "scope": "/",
    "start_url": "/",
    "icons": [ //The array specifies the icons icon parameter, which is used to adapt to different devices (requires png, at least one icon of 192px*192px)
        {
          "src": "images/pwaicons/36.png", //The directory of the icon file needs to be created by itself in the source/ directory.
          "sizes": "36x36",
          "type": "image/png"
        },
        {
            "src": "images/pwaicons/48.png",
          "sizes": "48x48",
          "type": "image/png"
        },
        {
          "src": "images/pwaicons/72.png",
          "sizes": "72x72",
          "type": "image/png"
        },
        {
          "src": "images/pwaicons/96.png",
          "sizes": "96x96",
          "type": "image/png"
        },
        {
          "src": "images/pwaicons/144.png",
          "sizes": "144x144",
          "type": "image/png"
        },
        {
          "src": "images/pwaicons/192.png",
          "sizes": "192x192",
          "type": "image/png"
        },
        {
            "src": "images/pwaicons/512.png",
            "sizes": "512x512",
            "type": "image/png"
          }
      ],
      "splash_pages": null //Configure a custom launch animation.
  }
You can also quickly create manifest.json via Web App Manifest. (Web App Manifest requires at least one 512*512 pixel icon)
- You can check if the PWA configuration is in effect and the configuration is correct through the
ChromepluginLighthouse. - Open the blog page - Launch theLighthouseplugin (theLighthouseplugin requires at least one 512*512 pixel icon)
For more on PWA (Progressive Enhanced Web Applications), see Google Tools for Web Developers
Screenshot


Live2D Animated model pendant
Installation
Live2D model
Use the following command to install the Live2D module, which needs to be executed in the root directory of the blog through the terminal:
npm install --save hexo-helper-live2d
If you don't want to use it and want to uninstall it completely, the command is as follows:
npm uninstall hexo-helper-live2d
Configure your favorite animated model
There are a lot of Live2D animation models for us to choose from:
1.The corresponding module is downloaded here
For example, I use tororo(Cute White Cat), which can be directly in the download interface above:
1.After the manual download is complete, copy all the files in packages to the node_modules folder in the root directory of the blog.
2.It can also be installed using the package manager. The command format: npm install model package name will also be installed in the node_modules directory.
3.Open the configuration file _config.yml of the blog root directory and add the following content:
# Live2D
live2d:
  enable: true
# enable: false
  scriptFrom: local # default
  pluginRootPath: live2dw/ # Plugin on the root of the site
  pluginJsPath: lib/ # Script file relative to the plugin root directory path
  pluginModelPath: assets/ # Model file relative to plugin root directory path
  model:
    use: live2d-widget-model-tororo # Downloaded animated model name
  display:
    superSample: 2
    width: 210
    height: 420
    position: left # Where the model is displayed on the web page
    hOffset: 0
    vOffset: -20
Go and pick up your cute white cat!
Screenshot

